WampServer is a free software bundle that integrates Apache, MySQL, and PHP on Windows, helping you create a local server environment for web development. This article covers installation, comparisons with XAMPP/MAMP/LAMP, and how to install WordPress on localhost.
2019Trusted since
B2BData solutions
Data·AIExpertise
Need data solutions for your business?
AlgoData has helped businesses with data engineering, analytics & AI since 2019.
WampServer is a free and open-source software package that allows users to create a server environment on their personal computer, specifically designed for web developers. The "W" in the name stands for the Windows operating system, followed by Apache (web server), MySQL (database management system), and PHP (programming language).
Thanks to the integration of these three key components, WampServer simplifies the web application development process. Users can run PHP applications on their own computer without having to configure each piece of software individually. In particular, Wamp also provides a user-friendly interface that makes managing and testing projects easier than ever.
Key Components of WampServer
WampServer consists of several supporting components, the most notable being:
Apache: A web server responsible for receiving requests from browsers and returning content to users. It supports multiple programming languages and provides extensible functionality.
MySQL: A relational database management system (RDBMS) that helps store and manage data for web applications. Users can easily create and query data tables.
PHP: A popular scripting language for web development that supports dynamic data processing and database interaction.
In addition, WampServer comes with tools such as phpMyAdmin — which allows managing MySQL databases through a graphical interface — and XDebug — a tool for debugging PHP code.
Benefits of WampServer
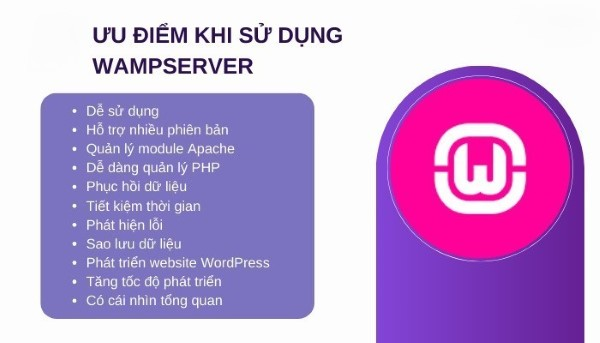
Using WampServer offers many significant benefits for web developers, especially beginners. Key highlights include:
One of the greatest advantages of Wamp is its easy and quick installation process. Simply download the WampServer package, follow the on-screen instructions, and you'll have a complete development environment set up. There's no need to delve deeply into configuring individual software like Apache or MySQL — Wamp handles everything automatically.
Comprehensive Development Environment
WampServer provides all the necessary components for web application development, from the web server to the database and programming language. This helps developers save time and optimize their workflow.
Free and Open Source
Unlike many commercial software products, WampServer is a free and open-source product. This not only saves you money but also provides high customizability, allowing you to adjust it to your project's specific needs.
Regular Updates
WampServer regularly receives updates to improve performance and patch security vulnerabilities. This continuous support ensures that your development environment remains stable and secure.
Large Community Support
With a large user community, you can easily find documentation, tutorials, and support forums when encountering difficulties. This helps you quickly resolve issues during usage.
Comparing WampServer, XAMPP, MAMP, and LAMP
When it comes to web development tools, WampServer is not the only option. Along with WampServer, there are other software solutions such as XAMPP, MAMP, and LAMP. Comparing these tools will help you choose the software that best suits your needs.
WampServer
As mentioned, WampServer is a tool exclusively for Windows users. It provides an intuitive and easy-to-use interface, making it an ideal choice for those who want to develop web applications quickly and efficiently.
XAMPP
XAMPP is a cross-platform package, meaning you can use it on Windows, macOS, and Linux. This is a significant advantage if you work across multiple operating systems. However, XAMPP can be more complex to configure and install compared to WampServer.
MAMP
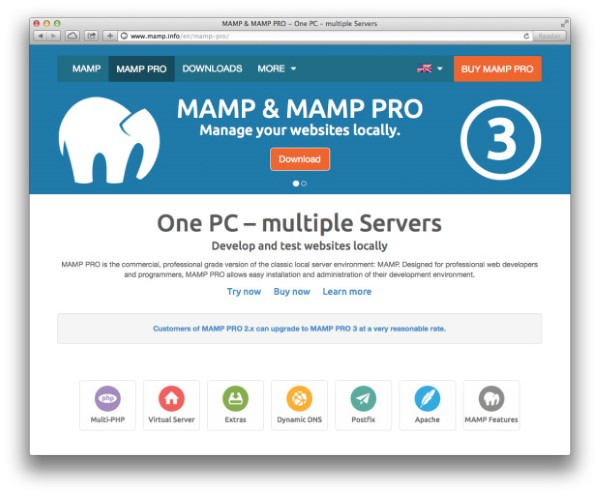
MAMP is a similar solution to WampServer but designed for macOS users. MAMP offers two versions: a free version and a Pro version with more extended features. If you're a developer working on a Mac, MAMP may be a better choice for you.
LAMP
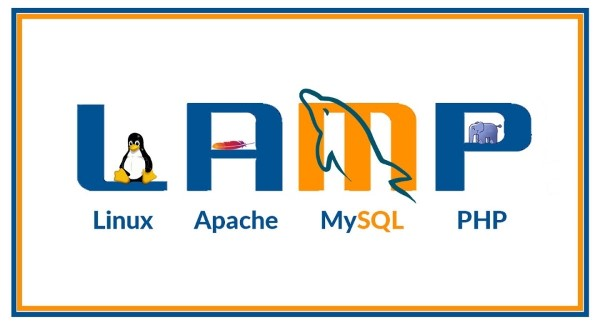
LAMP is an open-source technology stack consisting of Linux, Apache, MySQL, and PHP. It's the preferred choice for those developing web applications on servers running the Linux operating system. However, LAMP requires more technical knowledge since you need to manually install each component.
Should You Choose WampServer or XAMPP?
Choosing between WampServer and XAMPP depends on several factors, including the operating system you're using, your specific needs, and your level of experience in web development.
Easy installation: WampServer allows you to install quickly without having to go through many complex steps.
User-friendly interface: The easy-to-use user interface helps you manage server components efficiently.
Integrated phpMyAdmin: This tool allows you to manage MySQL databases visually.
Advantages of WampServer
Quick installation time.
Good compatibility with PHP applications.
Strong community support.
Disadvantages of WampServer
Not supported on non-Windows systems.
Lacks some advanced features that XAMPP or MAMP have.
XAMPP Features
Cross-platform: XAMPP works on multiple operating systems, including Windows, macOS, and Linux.
Multiple integrated tools: In addition to Apache, MySQL, and PHP, XAMPP also provides additional utilities such as FileZilla FTP Server, Mercury Mail Server, and Perl.
Advantages of XAMPP
High cross-platform capability.
Many useful additional tools for application development.
Disadvantages of XAMPP
May take time to get familiar with its interface and how it works.
Many features can be confusing for beginners.
Choosing Between WampServer and XAMPP
If you only work on Windows and need a simple tool, WampServer will be the better choice. Conversely, if you need to work across multiple operating systems or require many supporting tools, XAMPP will be the more suitable option.
Detailed WampServer Installation Guide
Installing WampServer is very simple and easy. Below is a detailed step-by-step guide.
Step 1: Download WampServer
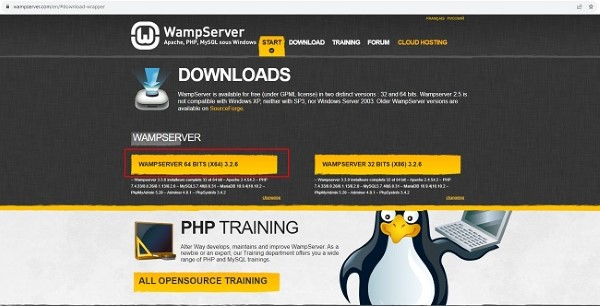
Visit the official WampServer website at wampserver.com and download the version that matches your Windows operating system. You can choose between the 32-bit or 64-bit version depending on your computer configuration.
Step 2: Install WampServer
After downloading, open the installation file and follow the on-screen instructions. You'll be asked to choose an installation directory and accept the terms of use. Make sure you have admin privileges to complete the installation process.
Step 3: Start WampServer
After installation is complete, the WampServer icon will appear in the system tray. Click on this icon to start the program. Once again, check that all services such as Apache and MySQL are running.
Step 4: Verify the Installation
Open a web browser and navigate to http://localhost or http://127.0.0.1. If you see the WampServer homepage displayed, that means you've installed it successfully.
Basic WampServer Usage Guide
Using WampServer is fairly simple, but you need to understand some basic operations to manage your development environment.
Checking Server Status
The WampServer icon in the system tray will change color to indicate the server status. Green means everything is running normally, while orange or red may indicate issues. You can right-click the icon to view detailed information.
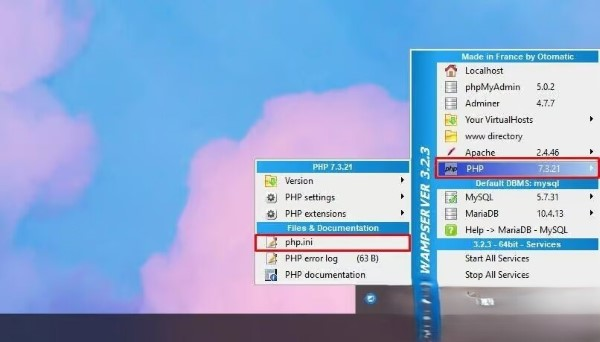
WampServer allows you to easily configure PHP parameters by accessing the php.ini file. Here, you can change settings such as maximum execution time, upload size, and many other parameters.
Accessing the Main Menu
Right-click the WampServer icon in the system tray to access the main menu. Here, you'll find options such as starting or stopping services, accessing phpMyAdmin, and opening the localhost homepage.
Configuring Apache
You can access the Apache configuration file (httpd.conf) to change the default port, add modules, or change the website root directory. This allows you to customize the server to your specific needs.
Shutting Down WampServer
When you've finished your development work, you can shut down WampServer by right-clicking the icon and selecting "Exit." This will stop all running services on the server.
Installing WordPress on Localhost with WampServer
WordPress is one of the most popular content management systems today. Below is a guide to installing WordPress on localhost using WampServer.
Step 1: Download WordPress
Visit the official WordPress website at wordpress.org and download the latest version. After downloading, you'll have a zip file containing the WordPress source code.
Step 2: Extract the File
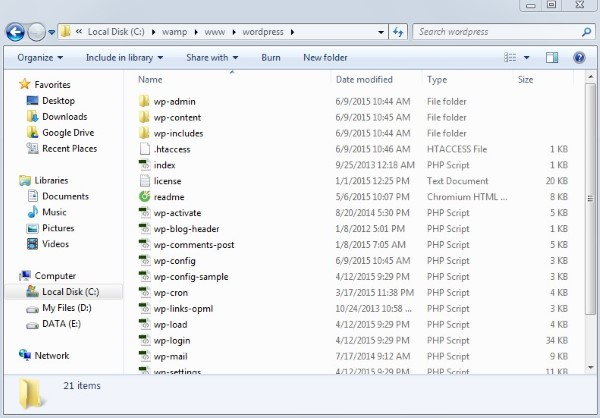
Extract the downloaded file to the www directory within the WampServer installation folder. Typically, the path will be C:\wamp\www. You can name this folder "wordpress" or any other name you prefer.
Step 3: Rename the Source Folder
If you want to access WordPress via http://localhost/wordpress, make sure the folder you just extracted is named "wordpress."
Step 4: Create a Database in PHPMyAdmin
Open phpMyAdmin by navigating to http://localhost/phpmyadmin. Log in with the username "root" (default has no password). Create a new database, for example "wordpress_db".
Step 5: Complete the Installation
Open your browser and navigate to http://localhost/wordpress. Follow the on-screen instructions to complete the WordPress installation. Enter the database information you created in the previous step and finish the setup.
{{< test-result
title="Comparison of local web development tool stacks"
headers="Criteria|WampServer|XAMPP|MAMP|LAMP"
row1="Operating system|Windows|Windows, Mac, Linux|Mac (Windows)|Linux"
row2="Web server|Apache|Apache|Apache, Nginx|Apache"
row3="Database|MySQL|MySQL, MariaDB|MySQL|MySQL"
row4="Language|PHP|PHP, Perl|PHP|PHP"
row5="Interface|Tray icon, simple|Control panel|GUI|Command line"
row6="Price|Free|Free|Free / Pro ($)|Free"
/>}}
Tip
WampServer is the best choice for beginners on Windows thanks to its simple interface. If you need cross-platform support, choose XAMPP. On Mac, use MAMP. On Linux servers, install LAMP manually.
Conclusion: WampServer is a free toolkit, easy to install, integrating Apache, MySQL, and PHP on Windows. It is the ideal choice for web developers, especially beginners, to create a local development environment and test applications before deploying to a production server.